Cross-stitching is a delightful craft that involves creating beautiful patterns and designs by stitching X-shaped stitches onto fabric. Here’s a step-by-step guide to get you started:

Gather your materials:
Aida fabric
Aida fabric is a popular material used in cross-stitching and other forms of embroidery. It’s woven with regularly spaced holes, making it easy to create uniform stitches. The holes in Aida fabric are often called “count,” referring to the number of holes per linear inch.
Aida fabric comes in various counts, with 14-count and 16-count being the most commonly used for cross-stitching. The count refers to the number of holes per inch, so 14-count Aida has 14 holes per inch, while 16-count Aida has 16 holes per inch. The higher the count, the smaller the stitches will be.
Aida fabric is typically made from cotton or a cotton blend, although other materials such as linen can also be used. It’s available in a range of colours, allowing for versatility in design choices. Beginners often find Aida fabric easy to work with due to its grid-like structure, which helps guide the placement of stitches.
Overall, Aida fabric is a staple material in the world of cross-stitching, cherished for its durability, ease of use, and wide availability.
PS: The pronunciation of “Aida” can vary depending on regional accents and languages. In English, the most common pronunciation is “eye-duh.” However, in some languages or regions, it may be pronounced differently, such as “eye-ee-da”.
Embroidery hoop (optional)
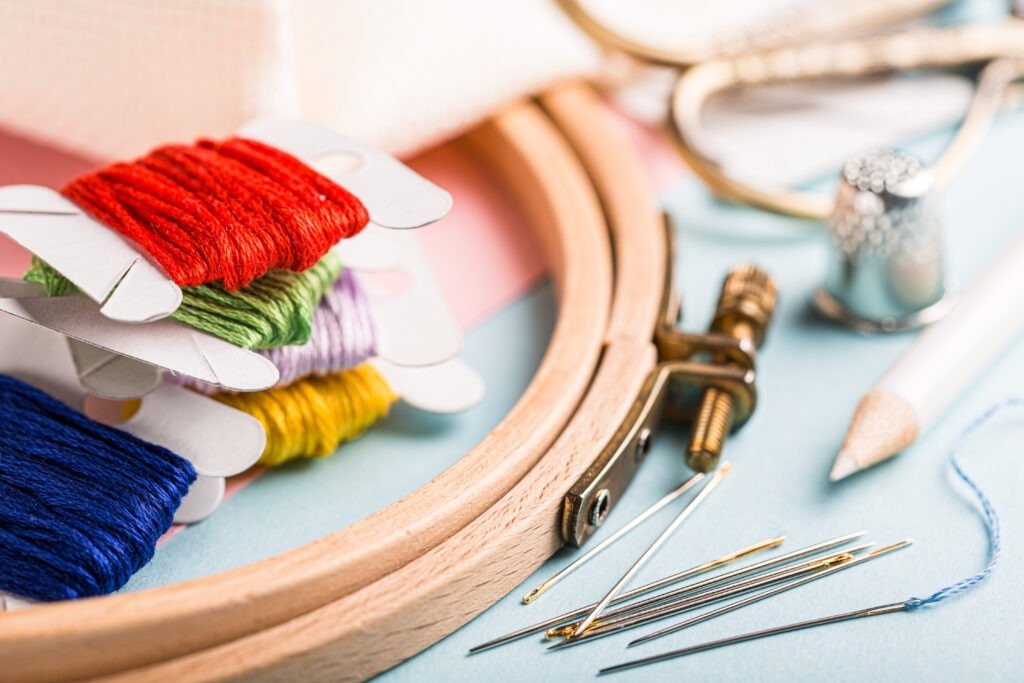
An embroidery hoop is a tool used in embroidery, including cross-stitching, to hold the fabric taut while stitching. It consists of two circular or oval rings, typically made of wood, plastic, or metal, with a tightening mechanism to secure the fabric between them.
Here’s how an embroidery hoop works:
- Separate the rings: Most embroidery hoops come in two parts: an inner ring and an outer ring. The inner ring is slightly smaller than the outer ring.
- Place the fabric: Lay your fabric over the inner ring, ensuring that the area you want to stitch is centered within the hoop.
- Position the outer ring: Press the outer ring over the fabric and inner ring, sandwiching the fabric between them.
- Tighten the screw: Many embroidery hoops have a screw or a spring tension mechanism that allows you to tighten the outer ring, securing the fabric in place. Make sure to tighten it enough to keep the fabric taut but not so tight that it distorts the fabric.
Embroidery hoops come in various sizes to accommodate different project sizes and are available in different materials, such as wood, plastic, or metal. Some hoops even have decorative designs or features like padded edges to prevent leaving creases on the fabric.
Using an embroidery hoop can help maintain even tension on the fabric, which is essential for achieving neat and uniform stitches. While using a hoop is optional, many embroiderers find it helpful, especially for larger projects or when working with fabric that tends to pucker.
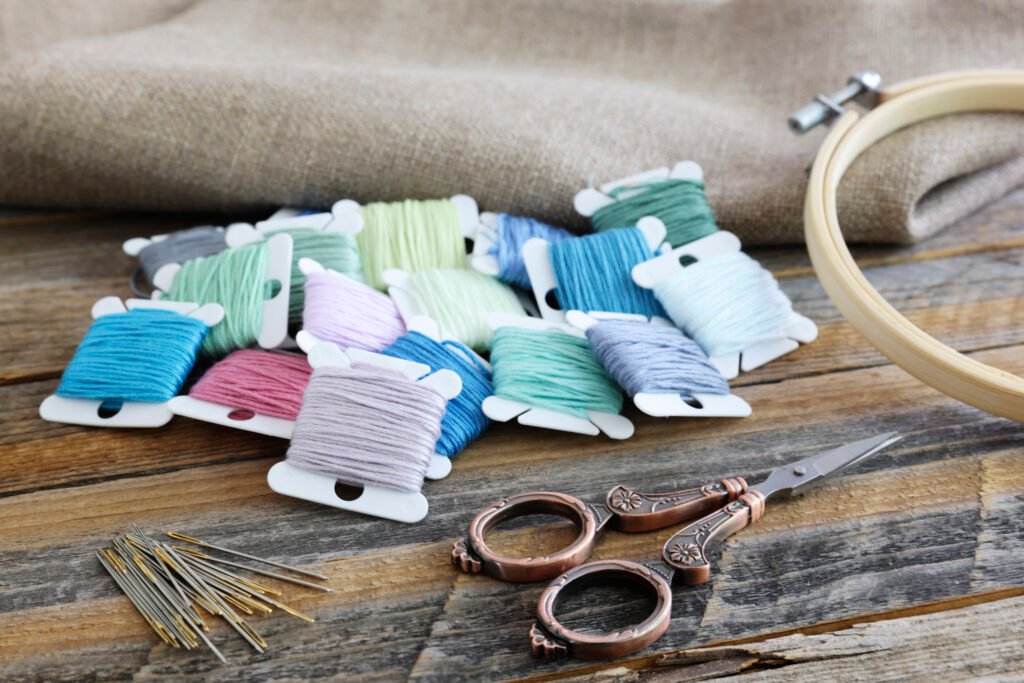
Embroidery floss (thread)
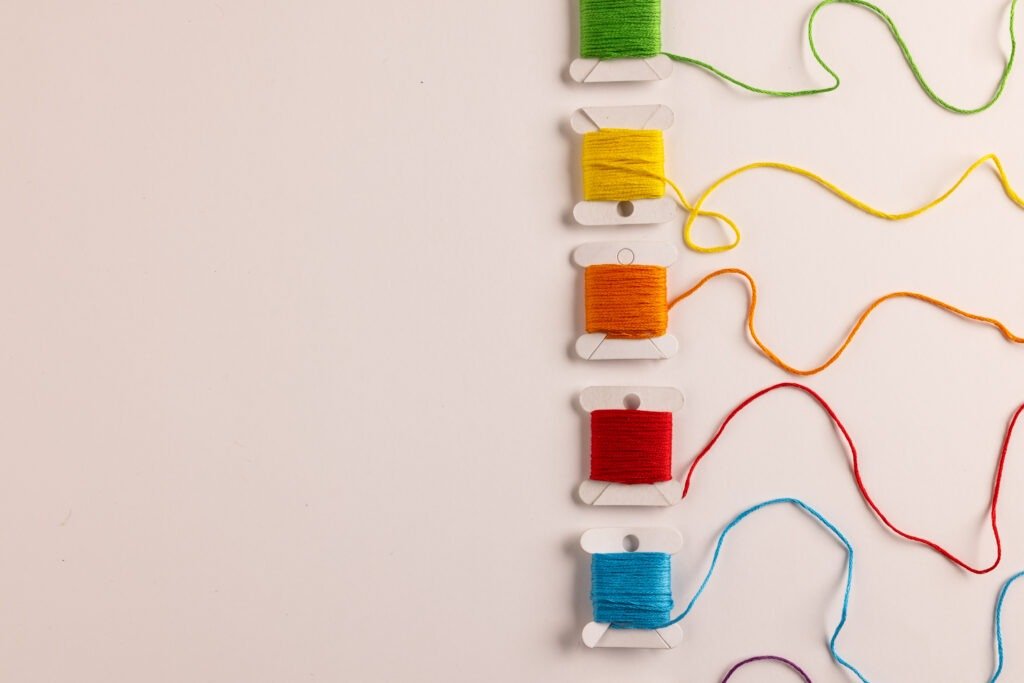
Embroidery floss, also known simply as floss or thread, is a type of thread specifically designed for embroidery and needlework. It’s made of multiple strands of fine cotton or silk fibers twisted together, creating a smooth and durable thread that’s easy to work with.
Here are some key characteristics of embroidery floss:
- Strands: Embroidery floss typically consists of six individual strands twisted together. These strands can be separated and used individually for fine details or combined for thicker, more opaque stitches.
- Variety of colours: Embroidery floss comes in a wide range of colours, allowing for endless creative possibilities in stitching. It’s available in solid colours, variegated colours (with subtle colour changes), metallic finishes, and even glow-in-the-dark varieties.
- Compatibility: Embroidery floss is compatible with various fabrics commonly used in embroidery, including Aida cloth, linen, and even canvas. It’s versatile enough to be used for different types of embroidery techniques, such as cross-stitching, crewel embroidery, and satin stitch.
- Durability: High-quality embroidery floss is durable and colourfast, meaning it resists fading or bleeding when washed. This ensures that your embroidered creations remain vibrant and beautiful over time.
- Brands: Several brands produce embroidery floss, with DMC and Anchor being among the most popular and widely available. These brands offer consistent quality and a vast array of colours to choose from.
Embroidery floss is an essential component of any embroidery project, and having a good selection of colours on hand allows stitchers to bring their creative visions to life with intricate designs and vibrant hues.

Tapestry needle (has a blunt tip to prevent snagging)
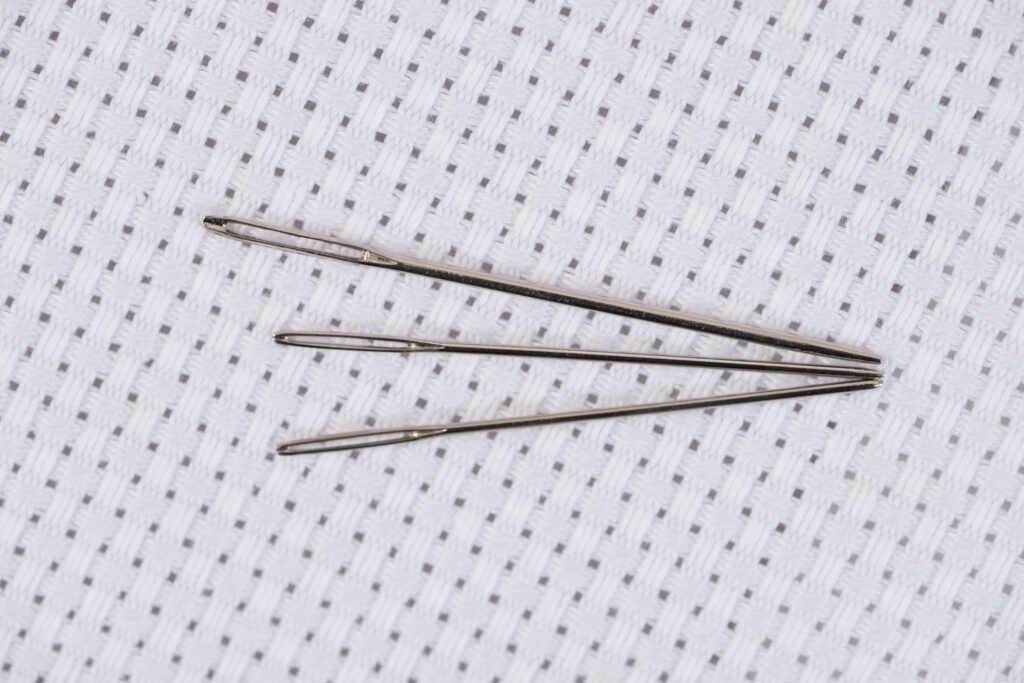
The best needle to use for cross-stitching is typically a tapestry needle. Tapestry needles are specifically designed for needlework on evenweave fabrics like Aida cloth, which is commonly used in cross-stitching. Here’s why tapestry needles are well-suited for cross-stitch:
- Blunt tip: Tapestry needles have a blunt tip, which prevents them from splitting the fibers of the fabric. This helps ensure smooth, precise stitching without damaging the fabric.
- Large eye: Tapestry needles have a large eye, making it easier to thread multiple strands of embroidery floss. This is important in cross-stitching, where it’s common to use multiple strands of floss to achieve full coverage and vibrant colours.
- Thicker shaft: Tapestry needles have a thicker shaft compared to other types of needles, which helps prevent them from bending or breaking while stitching. The thicker shaft also makes it easier to manipulate the needle through the fabric.
- Available in various sizes: Tapestry needles come in different sizes, ranging from very fine to larger sizes. The size of the needle you choose depends on the count of the fabric you’re stitching on and the number of strands of embroidery floss you’re using. For example, if you’re stitching on 14-count Aida fabric with two strands of floss, a size 24 tapestry needle is commonly recommended.
Overall, tapestry needles are a popular choice among cross-stitchers for their durability, ease of use, and compatibility with various fabrics and thread types.

Scissors
Choosing the best scissors for cross-stitching depends on personal preference, but there are some key features to consider:
- Sharpness: Look for scissors with sharp blades that can cleanly cut through embroidery floss and fabric without fraying or damaging the threads. Precision is essential for achieving neat, precise cuts in cross-stitching.
- Size: Opt for scissors that are comfortable to hold and maneuver, especially if you’re working on intricate designs or small stitches. Small, lightweight scissors are often preferred for cross-stitching because they provide better control and precision.
- Blade shape: Scissors with pointed or fine tips are ideal for snipping threads and cutting precise shapes in tight spaces. However, if you’re concerned about accidentally poking or damaging your fabric, consider using scissors with rounded tips instead.
- Material: Choose scissors made from high-quality materials that are durable and long-lasting. Stainless steel or carbon steel blades are popular choices for embroidery scissors because they are resistant to rust and maintain sharpness over time.
- Comfort: Look for scissors with ergonomic handles or finger loops that provide a comfortable grip, especially if you’ll be working on extended stitching sessions. Comfortable scissors can help reduce hand fatigue and make stitching more enjoyable.
Some popular types of scissors for cross-stitching include:
- Embroidery scissors: These small, sharp scissors are specifically designed for cutting embroidery floss and working on detailed stitching projects. They often have fine, pointed tips for precision cutting.
- Thread snips: Thread snips are small, lightweight scissors with spring-loaded handles that make them easy to use with one hand. They’re great for quickly snipping threads and trimming excess floss.
- Small scissors with sheath: Some cross-stitchers prefer to use small scissors with a protective sheath or cover to prevent the blades from getting damaged or causing accidents when not in use.
Ultimately, the best scissors for cross-stitching are the ones that feel comfortable in your hand and allow you to make clean, precise cuts with ease. It may be helpful to try out a few different types of scissors to find the ones that work best for you and your stitching projects.

Pattern (either printed or digital)
You can find cross-stitch patterns in books, online, or even create your own using graph paper or software.
A cross-stitch pattern is a visual guide that provides instructions for creating a specific design or image using cross-stitches. It typically consists of a grid of squares, with each square representing a single stitch on the fabric. Cross-stitch patterns can be printed on paper or accessed digitally through websites or software.
Here’s what you’ll find in a typical cross-stitch pattern:
- Design: The design itself is usually depicted in symbols or colours on the grid. Each symbol or colour corresponds to a specific colour of embroidery floss to be used for stitching. More complex patterns may include shading or detail to create depth and dimension in the finished piece.
- Key: A key or legend accompanies the pattern, explaining the symbols or colours used in the design and their corresponding floss colours. This allows stitchers to easily interpret the pattern and select the correct colours of embroidery floss.
- Grid lines: The grid lines on the pattern help stitchers keep track of their progress and ensure accurate placement of stitches. They are often marked with thicker lines at regular intervals to delineate sections of the pattern.
- Border: Some patterns include a border around the design, which helps define the edges of the finished piece and provides a frame for the design.
Cross-stitch patterns can vary widely in complexity, from simple designs suitable for beginners to intricate works of art for experienced stitchers. They can feature a wide range of subjects, including animals, flowers, landscapes, geometric shapes, and more.
Stitchers can also create their own cross-stitch patterns using graph paper, specialised software, or online pattern generators. This allows for customisation and personalisation of designs to suit individual preferences and creative ideas.
Start with a simple pattern if you’re a beginner, and as you gain confidence, you can move on to more complex designs.

Also available are pre-printed patterns (see image above). Pre-printed cross-stitch patterns on Aida fabric are designs that are already printed onto the fabric itself, allowing you to start stitching directly without having to transfer the design onto the fabric manually. These patterns are particularly convenient for beginners or for those who prefer not to spend time transferring designs.
Now you’ve gathered all your materials, move on to the next steps…
Prepare your fabric:
- Cut your Aida fabric to your desired size, leaving a few inches of extra space around the edges for framing or finishing.
Cutting Aida fabric can be done with a few simple techniques to ensure clean edges and accurate dimensions:
- Marking: Measure and mark the desired size of the fabric using a ruler and fabric marker or tailor’s chalk. Make sure your markings are clear and precise.
- Scissors: Use a pair of sharp fabric scissors to cut along the marked lines. It’s important to use sharp scissors to avoid fraying or uneven edges.
- Cutting straight lines: To cut straight lines, keep the fabric flat on a cutting mat or other flat surface. Hold the fabric firmly with one hand and cut along the marked line with the scissors in the other hand, using smooth, even strokes.
- Rotary cutter and ruler: For even more precision, you can use a rotary cutter and quilting ruler. Place the ruler along the marked line and hold it firmly in place. Then, carefully run the rotary cutter along the edge of the ruler to make a clean, straight cut.
- Cutting curves: If you need to cut curved edges or shapes, it’s best to use small, sharp embroidery scissors or fabric shears. Take your time and make small, controlled cuts to follow the curves accurately.
- Finishing edges: Once you’ve cut the fabric to size, you may want to finish the edges to prevent fraying. You can use a serger or overlock machine to sew along the edges, or you can use a zigzag stitch on a sewing machine. Alternatively, you can apply a fray check or fabric glue to the cut edges to seal them.
By following these techniques, you can cut Aida fabric accurately and neatly for your cross-stitching projects. Remember to take your time and double-check your measurements and markings to ensure the best results.
Thread your needle:
- Separate a strand of embroidery floss from the skein. Most cross-stitch patterns call for 2 strands of floss, but this can vary depending on the fabric and pattern.
- Thread the separated strand through the eye of the tapestry needle and pull it through until both ends are even.
Determining how many strands of thread to use in your cross-stitch project depends on several factors, including the fabric count, desired coverage, and personal preference. Here are some general guidelines to help you decide:
- Fabric count: The fabric count refers to the number of stitches per inch of fabric. Common fabric counts for Aida fabric range from 11 to 18 stitches per inch, with 14-count and 16-count being the most popular for cross-stitching. The higher the fabric count, the smaller the stitches will be.
- Coverage: Generally, for 14-count Aida fabric, two strands of embroidery floss are commonly used for cross-stitching. This provides good coverage and makes the stitches stand out on the fabric. However, you can adjust the number of strands based on your preferences and the look you want to achieve.
- Personal preference: Some stitchers prefer the look of one strand of floss for a more delicate appearance, especially when working on smaller or more intricate designs. Others may prefer the boldness and coverage of using three or more strands of floss. Experimenting with different numbers of strands can help you find what works best for you.
If a pattern doesn’t specify the number of strands to use, you can use the fabric count as a starting point. As a general rule:
- For 14-count Aida fabric: Use two strands for full coverage.
- For higher fabric counts (e.g., 18-count Aida): You may opt for one or two strands, depending on the coverage you prefer.
- For lower fabric counts (e.g., 11-count Aida): You may use three or more strands for better coverage.
It’s always a good idea to stitch a small sample or test swatch on a scrap piece of fabric using different numbers of strands to see how they look before starting your project. This allows you to gauge the coverage and appearance of the stitches and make any adjustments as needed.

Start stitching:
Deciding where to start stitching on a cross-stitch pattern depends on a few factors, including personal preference, the complexity of the design, and any specific instructions provided in the pattern. However, here are some general guidelines to help you decide where to begin:
- Center of the pattern: Many stitchers prefer to start stitching at the center of the pattern, especially if the design is symmetrical or if the pattern includes a marked center point. Starting from the center allows for even distribution of stitches and helps ensure that the design is centered on the fabric.
- Top-left corner: Some stitchers prefer to start stitching in the top-left corner of the pattern and work their way across and down. This method can be especially useful if the pattern does not have a clearly marked center point or if you’re working on a smaller piece where starting from the center might be challenging.
- Most prominent feature: If the pattern includes a prominent feature or element that you’re particularly excited about stitching, you might choose to start there. This can help maintain motivation and enthusiasm for the project, especially if the rest of the design is less appealing to you.
- Borders or outlines: In some cases, it may be helpful to start by stitching the borders or outlines of the design first. This can provide a framework for the rest of the stitching and help define the boundaries of the design.
- Specific instructions: Some patterns may include specific instructions on where to start stitching, especially if there are certain elements that need to be stitched first for alignment or other reasons. Be sure to read through the pattern carefully to see if there are any recommended starting points or stitching sequences.
Ultimately, the decision of where to start stitching is up to you, so feel free to experiment and choose the method that works best for you and your project.
- Bring the needle up from the back of the fabric to the front at the starting point of your pattern.
- Make a diagonal stitch (/) and then cross it with another diagonal stitch (), creating an X shape.
- Continue stitching across the row, making X-shaped stitches according to the pattern.


Follow the pattern:
- Work row by row, following the symbols or colours on your pattern.
- Keep your stitches neat and consistent in size for a polished look.
Some patterns also call for backstitching. Backstitching is a common embroidery technique used to add definition, outline, and detail to cross-stitch projects. It involves stitching a series of straight stitches along a line or outline on the fabric, typically after the main cross-stitching is complete. Here’s what you need to know about backstitching:
- Stitch direction: Unlike cross-stitches, which are made by forming an “X” shape, backstitches are made by stitching one straight stitch at a time, following the path of the design outline.
- Purpose: Backstitching is often used to outline shapes, add fine details, create lettering or text, or define features in a design. It can also be used to create curves and angles in the design that aren’t possible with cross-stitches alone.
- Stitching technique: To backstitch, bring the needle up through the fabric at the starting point of the line or outline. Then, insert the needle back down through the fabric a short distance away, creating a straight stitch. Bring the needle back up through the fabric at the end of the previous stitch, and continue stitching along the desired path, keeping the stitches even and consistent in length.
- Stitch length: The length of the backstitches can vary depending on the design and the desired effect. For fine details or sharp angles, shorter stitches may be used, while longer stitches may be used for longer lines or curves.
- Thread: Backstitching is typically done using a single strand of embroidery floss, which allows for finer, more precise stitches. However, you can adjust the number of strands depending on the desired thickness and visibility of the outline.
- Finishing: When backstitching is complete, secure the thread on the backside of the fabric by weaving it through existing stitches or making a small knot. Trim any excess thread to finish.
Backstitching adds depth, dimension, and definition to cross-stitch projects, enhancing the overall appearance of the design. It’s a versatile technique that can be used to achieve a variety of effects, from bold outlines to delicate details, and it’s a valuable skill for embroiderers of all levels.
Tips for following a cross stitch pattern
- Read the pattern thoroughly: Before you begin stitching, take the time to carefully read through the pattern instructions, including any symbols or colour codes, the key or legend, and any special notes or guidelines provided by the designer.
- Start from the center: If the pattern has a marked center point, consider starting your stitching from there. Working from the center outward helps ensure that your design remains centered on the fabric and makes it easier to maintain symmetry.
- Use a highlighter or marker: Some stitchers find it helpful to use a highlighter or marker to mark off the stitches they’ve completed on the pattern as they go. This can help prevent mistakes and ensure that you don’t accidentally skip or repeat stitches.
- Work row by row or section by section: Break the pattern down into manageable sections and focus on completing one row or section at a time. This can help you stay organised and prevent you from feeling overwhelmed by the complexity of the design.
- Count carefully: Double-check your counting before making each stitch to ensure accuracy. Use the grid lines on the fabric and pattern to help you count stitches and determine placement.
- Check your work frequently: Periodically step back and compare your stitching to the pattern to make sure you’re following it correctly. Pay attention to the placement of stitches, colours, and any other details to ensure accuracy.
- Keep track of thread changes: If the pattern calls for multiple colours of embroidery floss, be sure to keep track of when to switch colours and which colours to use for each section of the design. You can use a floss organiser or bobbins to help keep your threads organised.
- Be patient and take breaks: Cross-stitching can be a time-consuming and intricate craft, so it’s important to be patient and take breaks when needed. Resting your eyes and hands periodically can help prevent fatigue and maintain your focus.
- Experiment with different techniques: Don’t be afraid to experiment with different stitching techniques to achieve different effects or textures in your design. There are many variations of cross-stitch, such as fractional stitches, backstitching, and French knots, that can add depth and dimension to your work.
- Have fun and enjoy the process: Most importantly, remember to have fun and enjoy the process of cross-stitching! It’s a relaxing and rewarding hobby that allows you to express your creativity and create beautiful works of art. Don’t worry about perfection—embrace the imperfections and enjoy the journey.
Finishing stitches:
- When you reach the end of a strand of floss, secure it on the backside of the fabric by weaving it through existing stitches.
- Start a new strand of floss by threading it through the back of existing stitches to secure it.
Finishing touches:
- Once you’ve completed your design, remove the fabric from the embroidery hoop if you used one.
- Trim any excess fabric, leaving a border around your design for framing.
- You can wash your finished piece if needed, following any care instructions for the fabric and floss used.
Frame or display your work:
- Once your cross-stitch is dry, you can frame it in a hoop or traditional frame or incorporate it into other projects like pillows or wall hangings.


Practice and enjoy:
- Like any craft, cross-stitching improves with practice. Don’t be discouraged by mistakes; they’re part of the learning process!
- Experiment with different fabrics, threads, and patterns to discover what you enjoy most about cross-stitching.
Leave a Reply